VMWare Player 4
GeneralIt’s understandable if you’ve tried to avoid virtualisation for quite some time. It’s a big subject, the stuff of many books and dark arts - technicians can easily make a career from it these days. I’ve always treated it as something to keep an eye on, but not particularly master.
Originally, virtualisation was reserved for enterprises and basically very rich people, the software was expensive to license and the hardware had to be meaty as hell. VMware slowly brought down the costs of hosting virtual machines, and as the software matured, so did the hardware specs needed to do such things. Eventually, VMware made a leap forward and offered virtualisation for free - in the form of VMware Server.
VMware has led the way in my opinion. They were one of the first companies to expose the masses to the ease of virtual machines, and with the release of VMware Server - they went one step further.
Released in 2009, VMware Server allowed anyone to run virtual machines on their own standard hardware, free of charge. Today - VMware Server has been replaced by VMware Player - an even easier to use package for hosting machines. In comparison, VMware Server now seemed bulky and overly complicated; VMware Player is what amateur virtualisation is all about!
Virtualisation made (very!) easy
If you’re interested in IT, you might find yourself running out of hardware. Testing a new OS, or adding clients to a test network can take time, especially when you’re spending most of it hunting around for hardware. Being the pedantic person I am, I usually prefer physical hardware over virtualisation any day (especially when dealing with networking, tracing MAC addresses easily causes brain aneurisms in such environments!), but when the focus is more on software - it’s easy to fall in love with VMware Player, hopefully I can show you how.
Start off by downloading your very own free copy of VMware Player, found here, VMware like to keep track of its use, so they will ask you for an email address in which to provide you with a free license key. I’ve never had any problems with this, other than the usual ‘virtualisation news’ emails occasionally, but overall the process is quite neat and tidy.
Once installed, you can start the application. For those of you used to VMware Server - the first thing you’ll notice is that it’s not web based anymore.
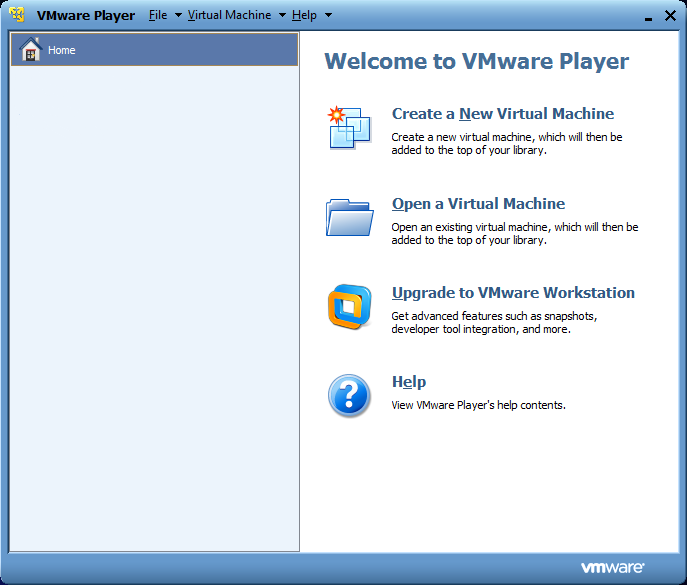
Without any virtual machines, VMware Player is pretty uneventful. It takes care of most internal settings for you, so on an ideal system - it should just work.
Because VMware Player is the free version, there are some limitations. Mainly there is no snapshot capability, and many other advanced features for managing the security and performance of machines is missing. You can however control the hardware specs of machines (and change this after it’s been created), and you can also run more than one machine at a time.
Adding your machine
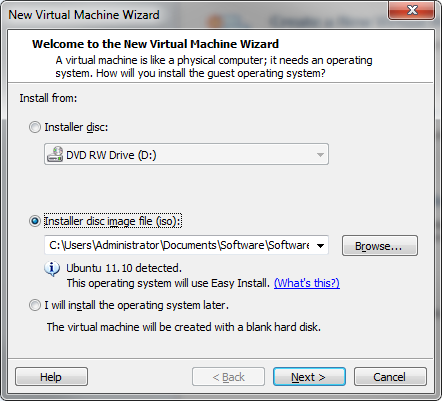
Adding a new virtual machine requires installation media. This can come in three different methods, an ISO image file, your physical DVD drive, or a pre-built VM image.
I find using the ISO method the best. Most Linux operating systems make an ISO image available, and VMware Player is able to detect the most common operating systems for fine tuning installation. When using Ubuntu 11.10, the wizard detects this and asks you for various set up options to make the process faster:
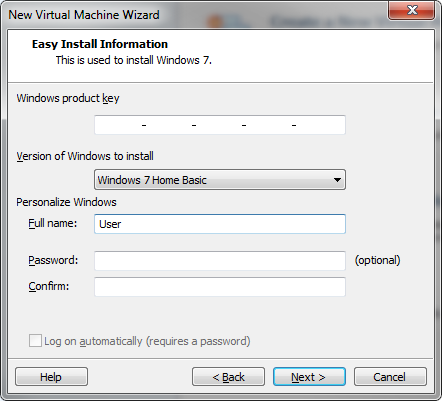
This really comes in handy, for example when installing a Windows 7 machine from the DVD - VMware Player detects the information Windows will likely ask for:
One thing that is different is that VMware Player makes assumptions for the required hardware. This can be changed after the machine is created, but in my experience, the specs were fine (except adding a floppy drive, who still uses that?!). The settings per machine are perfect for amateur use, skipping all the performance related settings, but allowing basic control over hardware, start-up routines etc.
By default, I noticed that the virtual network card settings were a little different. It defaults to NAT - which shares the IP address of the host machine. Since I find ‘bridged’ a little easier to get on with, this can be changed in the settings of the VM, and allows the virtual machine to have its own unique IP.
Conclusion
Overall, it’s a lightweight application which actually has a lot underneath. Furthermore, you can also download pre-built appliances from the VMware website if you want to try out some other appliances such as firewalls, and other networking gear that’s normally very expensive.
So if you’re curious about a new OS, or even want to run an older one, give it a try.
